
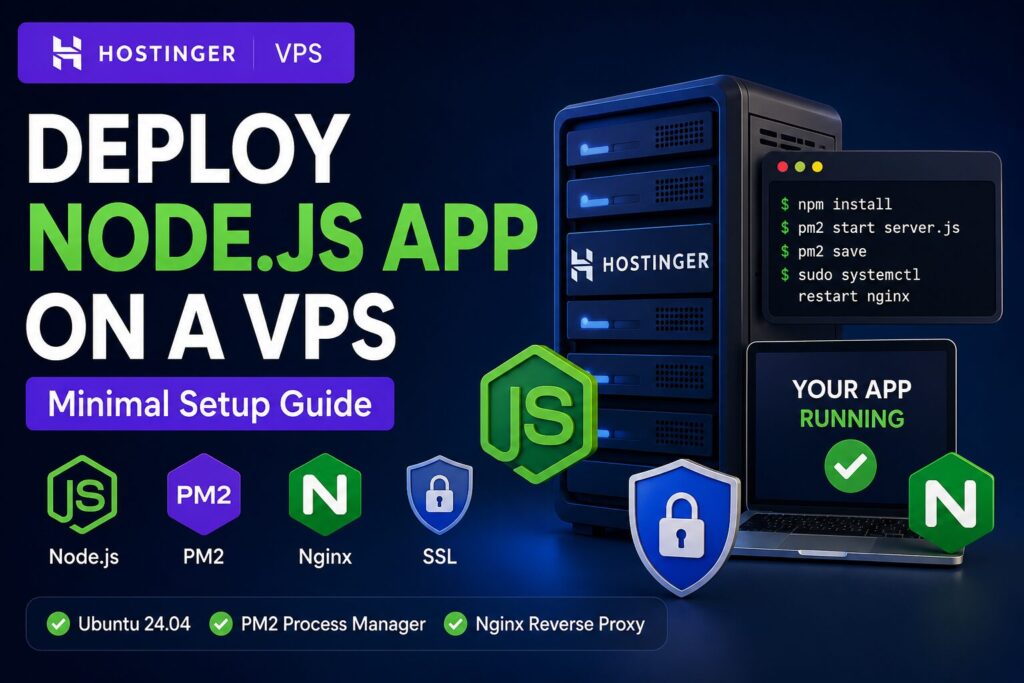
Learn how to deploy a Node.js app on a Hostinger VPS using Ubuntu, PM2, Nginx, and SSL. Beginner-friendly production setup guide for 2026.
If you want a simple, production-ready way to deploy a Node.js app on a VPS, this guide shows the easiest setup using:
- Ubuntu VPS
- Node.js LTS
- PM2 (process manager)
- Nginx (reverse proxy)
- SSL with Let’s Encrypt
This setup works perfectly on Hostinger VPS Hosting and is ideal for:
- Express.js apps
- REST APIs
- MERN stack backends
- Next.js custom servers
- Socket.IO apps
- Full-stack Node.js projects
Hostinger also supports Node.js deployment through VPS and CloudPanel environments.
Why Use a VPS for Node.js?
A VPS gives you:
- Full server control
- Better performance
- Dedicated resources
- Custom Node.js versions
- Background app processes
- SSL + domain support
Unlike shared hosting, VPS hosting is ideal for production Node.js applications.
Recommended VPS Plan
For most beginner and intermediate Node.js projects:
| Project Type | Recommended VPS |
|---|---|
| Small API / Portfolio | 1–2 vCPU, 2 GB RAM |
| MERN Stack App | 2–4 vCPU, 4 GB RAM |
| Production SaaS | 4+ vCPU, 8 GB RAM |
You can get started here:
VPS Hosting
Hostinger VPS Plans (Use Your 20% Discount Link Here)
Replace the link above with your affiliate/purchase link containing the 20% discount coupon.
Prerequisites
Before starting, you need:
- A VPS running Ubuntu 24.04
- Domain name pointed to VPS IP
- SSH access
- Node.js application ready
Step 1 — Connect to Your VPS
From your terminal:
ssh root@YOUR_SERVER_IPExample:
ssh root@192.168.1.100Step 2 — Update the Server
apt update && apt upgrade -yStep 3 — Create a New User (Recommended)
adduser deploy
usermod -aG sudo deploy
Now switch user:
su - deployStep 4 — Install Node.js LTS
The recommended approach is installing Node.js 20 LTS using NodeSource.
curl -fsSL https://deb.nodesource.com/setup_20.x | sudo -E bash -

sudo apt install -y nodejs
Verify installation:
node -v
npm -v
Expected output:
v20.x.x
10.x.x
Step 5 — Install Git
sudo apt install git -yVerify:
git --versionStep 6 — Upload Your Node.js App
Option 1 — Clone from GitHub
git clone https://github.com/yourusername/yourapp.gitGo inside project:
cd yourappOption 2 — Upload ZIP
Upload your project ZIP using Hostinger File Manager or SCP.
Then extract:
unzip yourapp.zip
cd yourapp
Step 7 — Install Dependencies
npm installStep 8 — Create Environment Variables
Create .env
nano .envExample:
PORT=3000
NODE_ENV=production
MONGO_URI=your_mongodb_connection
JWT_SECRET=your_secret
Save:
CTRL + X
Y
ENTER
Step 9 — Test the App
Start temporarily:
node server.jsOR
npm startVisit:
http://YOUR_SERVER_IP:3000If working, stop with:
CTRL + CStep 10 — Install PM2
PM2 keeps your Node.js app alive even after crashes or VPS reboot.
Install globally:
sudo npm install -g pm2Step 11 — Start App with PM2
Example:
pm2 start server.js --name myappOR
pm2 start npm --name myapp -- startCheck status:
pm2 statusSave PM2 process list:
pm2 saveEnable startup on reboot:
pm2 startupRun the generated command shown in terminal.
Step 12 — Install Nginx
sudo apt install nginx -yStart service:
sudo systemctl start nginx
sudo systemctl enable nginx
Step 13 — Configure Reverse Proxy
Create new config:
sudo nano /etc/nginx/sites-available/myappPaste:
server {
    listen 80;
    server_name yourdomain.com www.yourdomain.com;

    location / {
        proxy_pass http://localhost:3000;
        proxy_http_version 1.1;

        proxy_set_header Upgrade $http_upgrade;
        proxy_set_header Connection 'upgrade';
        proxy_set_header Host $host;

        proxy_cache_bypass $http_upgrade;
    }
}
Enable config:
sudo ln -s /etc/nginx/sites-available/myapp /etc/nginx/sites-enabled/Test Nginx:
sudo nginx -tRestart:
sudo systemctl restart nginxNow your app should open from:
http://yourdomain.comStep 14 — Enable Firewall
sudo ufw allow OpenSSH
sudo ufw allow 'Nginx Full'
sudo ufw enable
Check:
sudo ufw statusStep 15 — Add Free SSL (HTTPS)
Install Certbot:
sudo apt install certbot python3-certbot-nginx -yGenerate SSL:
sudo certbot --nginx -d yourdomain.com -d www.yourdomain.comDone ✅
Now your app works on:
https://yourdomain.comUseful PM2 Commands
Restart app
pm2 restart myappStop app
pm2 stop myappDelete app
pm2 delete myappView logs
pm2 logsMonitor
pm2 monitDeploy Updates
Whenever you update code:
git pull

npm install

pm2 restart myapp
Minimal Folder Structure
myapp/
│
├── node_modules/
├── public/
├── routes/
├── .env
├── package.json
├── server.js
Example Express Server
const express = require("express");

const app = express();

app.get("/", (req, res) => {
  res.send("Node.js App Running on VPS 🚀");
});

const PORT = process.env.PORT || 3000;

app.listen(PORT, () => {
  console.log(`Server running on port ${PORT}`);
});
Common Errors & Fixes
App not opening
Check PM2 logs:
pm2 logsPort already in use
Find process:
sudo lsof -i :3000Kill:
kill -9 PIDNginx error
Test config:
sudo nginx -tSSL failed
Make sure:
- Domain points to VPS IP
- Port 80 is open
- DNS propagation completed
Production Tips
- Always use PM2
- Use HTTPS only
- Keep Ubuntu updated
- Never run production apps as root
- Use environment variables
- Backup VPS regularly
Alternative: Hostinger CloudPanel
Hostinger also provides Node.js deployment through CloudPanel for easier management.
Good for beginners who prefer GUI deployment instead of terminal commands.
External Resources:
1. PM2 – Advanced Production Process Manager for Node.js
PM2 is a daemon process manager that will help you manage and keep your application online 24/7

